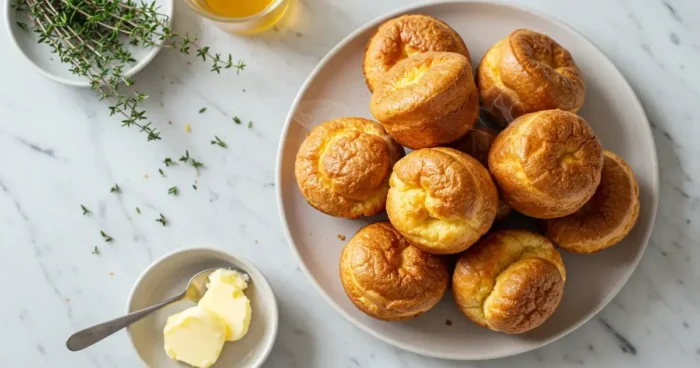
Have you ever wondered what is a mini popover and why everyone’s talking about these delightful little treats? First, they’re the perfect blend of light and fluffy, with just the right amount of crispiness to make every bite a joy. Next, you’ll love how easy they are to make – no fancy techniques, just simple ingredients and a little patience. In addition, mini popovers are versatile; whether you prefer sweet or savory, they adapt beautifully to any flavor. Plus, their bite-sized nature makes them great for sharing, entertaining, or even just snacking on your own. Imagine serving them fresh from the oven – it’s like a warm hug for your taste buds! So, why wait? Keep reading to discover how to create these charming mini delights and add a touch of magic to your next meal. You’re going to love them!
What Is a Mini Popover? Understanding This Tasty Treat
The Origins of Popovers and Mini-Popovers in the 18th Century
Popovers, including their bite-sized sibling, mini popovers, have a history as rich as their flavor. Originating in 18th-century England, traditional popovers became a favorite due to their simplicity and versatility. Over time, bakers started creating smaller versions, bringing us mini popovers – perfect for those who love just a taste of the classic treat. These mini delights retain the same light, airy texture while offering a modern, shareable twist. First enjoyed as a savory accompaniment, they’ve since evolved into a sweet and savory favorite worldwide. In addition, their manageable size makes them a hit at parties and family gatherings. Mini popovers are like a nod to history with a contemporary flair. If you’re wondering, “What is a mini popover?” – it’s your gateway to exploring the past and present of this delicious creation. Get ready to enjoy a little taste of history!
How Big Is a Mini Popover Compared to a Regular One
Mini popovers are petite wonders that pack all the charm of regular popovers but in a smaller size. A typical mini popover is around 2-3 inches tall, just right for a single bite or two. Regular popovers, on the other hand, can be as large as 4-5 inches. This difference in size means mini popovers cook faster, making them perfect for quick snacks or appetizers. Plus, their smaller size means you can enjoy more of them without feeling too full! In addition, mini popovers are ideal for dipping into soups, serving as finger food, or customizing with a variety of toppings. They’re like the bite-sized superheroes of the popover world. When people ask, “How big is a mini popover?” the answer is simple – it’s just big enough to make you want another one. You’re going to love how easy and fun they are!
Mini Popovers vs. Regular Popovers: Key Differences
Exploring Texture, Size, and Versatility
Mini popovers and regular popovers share a lot in common, but their differences make them unique. Mini popovers have a similar airy texture, but their smaller size gives them a slightly crisper exterior. Regular popovers, being larger, have a fluffier interior with a more dramatic rise. Additionally, mini popovers are more versatile for casual gatherings or as appetizers, while regular popovers work well as a hearty side dish. Then, there’s the fun factor – mini popovers are just so cute and easy to eat! First, they cook faster, which means less waiting and more snacking. Next, their small size lets you experiment with different toppings, from savory spreads to sweet jams. Whether you choose mini or regular, you’ll find plenty of reasons to love both. With mini popovers, you get all the joy of a classic popover in a compact, fun-to-eat package.
Why Mini Popovers Are Perfect for Modern Recipes
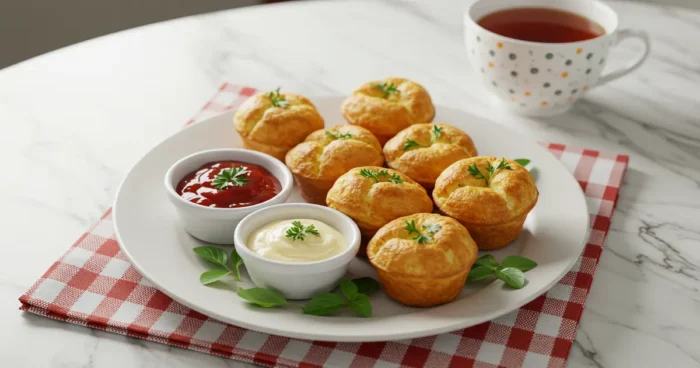
In today’s fast-paced world, mini popovers fit right in. Their quick cooking time and adaptable size make them a modern favorite. First, they’re great for experimenting with flavors – think cheesy garlic for a savory bite or cinnamon sugar for dessert. Next, they’re portion-friendly, which makes them a hit at gatherings. Mini popovers also pair beautifully with dips and spreads, adding variety to any menu. Plus, they’re easier to handle than their larger counterparts, making them perfect for kids and adults alike. In addition, they align with the trend of bite-sized treats that are both delicious and visually appealing. When it comes to mini popovers vs. regular popovers, the smaller size often wins for its convenience and charm. So, the next time you’re looking to elevate your recipe game, give mini popovers a try – they’re small, stylish, and oh-so-tasty!
Best Tools for Making Popovers and Mini-Popovers
Choosing the Right Popover Pan for Perfect Results
The right popover pan can make all the difference when creating these light and airy treats. For mini popovers, look for a pan with smaller, deeper cups. This ensures they rise beautifully and maintain their iconic hollow centers. Non-stick pans are a popular choice, as they make it easier to remove the popovers without breaking them. Also, opt for a sturdy pan that distributes heat evenly, ensuring consistent results every time. Traditional cast-iron pans are excellent for regular popovers but can also work well for mini versions. In addition, specialized mini popover pans are available and worth investing in if you’re a fan of these bite-sized delights. Choosing the right pan sets you up for success, so whether you’re making regular or mini popovers, you’re guaranteed a beautiful, golden treat. Popovers are only as good as the tools you use, so pick wisely!
Handy Accessories for Mini Popover Success
While the pan is the star, a few handy accessories can elevate your mini popover game. First, a good whisk or electric mixer helps create a smooth batter, which is essential for a perfect rise. Next, consider a ladle or measuring cup with a spout for easy pouring into the tiny cups. Silicone spatulas are also great for scraping every last bit of batter from the bowl. In addition, cooling racks are essential to let your mini popovers rest and maintain their crispness. For serving, small tongs can make plating these delicate treats easier and more elegant. Don’t forget, a pastry brush can help apply a light butter glaze for added flavor. These accessories may seem small, but they make the process smoother and more enjoyable. With the right tools in hand, you’re all set to create mini popovers that look and taste amazing!
Easy Recipes for Both Regular and Mini Popovers

Step-by-Step Guide to a Simple Mini Popover Recipe
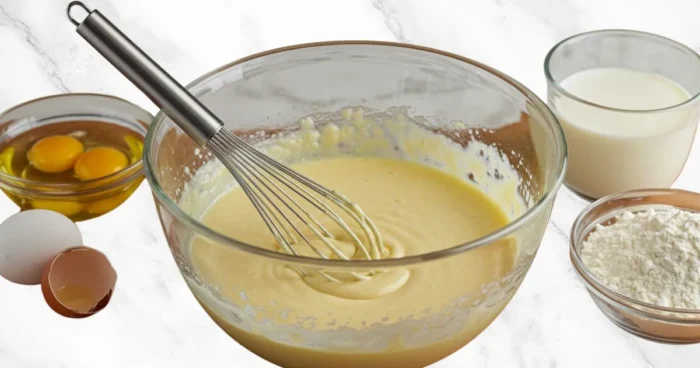
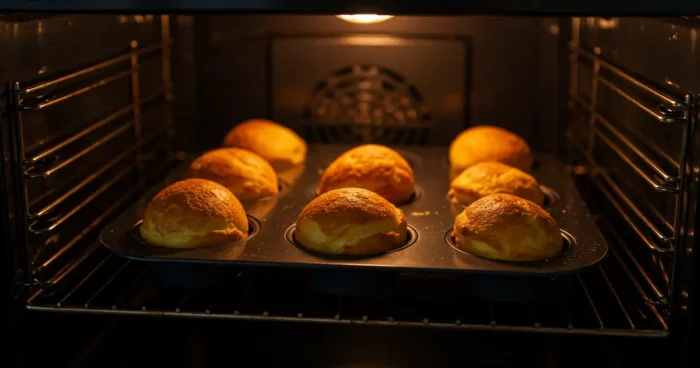
Making mini popovers is easier than you think, and this simple recipe proves it. First, whisk eggs, milk, and a pinch of salt in a bowl. Next, gradually add flour, stirring until the batter becomes smooth. Preheat your mini popover pan in the oven with a little butter in each cup. Once hot, carefully pour the batter into the cups, filling them halfway. Bake at a high temperature for 10 minutes, then reduce the heat and continue baking until golden and puffed. Let them cool slightly before serving. These mini popovers are great as a snack, appetizer, or breakfast addition. You can also customize them by mixing in cheese, herbs, or spices. For a hearty breakfast, pair them with ideas from Breakfast Plate: Delicious Ways to Energize Your Day. This recipe shows how simple it is to create these treats. Trust me, you’ll love every bite!
Adjustments for Making Regular Popovers
While mini popovers are quick and easy, regular popovers require a few adjustments for best results. First, you’ll need a larger popover pan with deeper cups to support their rise. The batter is the same, but you’ll pour more into each cup. Next, they take slightly longer to cook due to their size. Bake at a high temperature initially, then reduce the heat to ensure the inside is fully cooked without over-browning the outside. Additionally, regular popovers pair well with heartier toppings like gravy or roasted vegetables, making them perfect for meals. In contrast, mini popovers are better suited for finger foods or desserts. Whether you’re baking mini or regular popovers, the process is straightforward and rewarding. With just a few tweaks, you can enjoy the classic charm of regular popovers alongside their bite-sized cousins. They’re both equally delicious!
How to Reheat Popovers Without Losing Flavor

Tips for Reheating Mini Popovers Quickly
Reheating mini popovers is a breeze if you follow a few simple steps. First, preheat your oven to 350°F for even heating. Place the mini popovers on a baking sheet, leaving space between them. Then, bake for about 5 minutes or until warmed through. Avoid microwaving, as this can make them soggy instead of crisp. If you want extra crispness, brush the tops lightly with butter before reheating. Additionally, mini popovers can be reheated straight from the fridge or freezer, making them a convenient snack option. The key is to warm them gently without overcooking. With these tips, you can enjoy leftover mini popovers that taste just as delicious as when they were freshly baked. So, don’t worry if you have extras – reheating is quick, easy, and totally worth it!
Methods to Keep Regular Popovers Fresh
Keeping regular popovers fresh and delicious is easy with a few tricks. First, store them in an airtight container to prevent them from drying out. Next, when reheating, use an oven or toaster oven instead of a microwave for the best results. Regular popovers can also be wrapped in foil to preserve their moisture during reheating. Additionally, you can freeze leftover popovers and reheat them directly from frozen. Just preheat the oven to 350°F and bake for about 10-15 minutes. This method works well for maintaining their fluffy interior and crispy exterior. Another tip is to avoid overfilling the popover cups when baking, as this ensures they reheat evenly. By following these simple steps, you’ll always have fresh, tasty popovers ready to enjoy. Whether mini or regular, reheating popovers has never been easier!
Frequently Asked Questions (FAQs)
What’s the difference between a popover and a muffin?
Popovers and muffins may look similar, but they’re quite different! Popovers are light, airy, and hollow inside. Muffins, on the other hand, are dense and cake-like. Popovers rise dramatically in the oven due to steam, creating their iconic puffed shape. Muffins rely on baking powder or soda for a gentler rise. Also, popovers are less sweet, making them perfect for both sweet and savory toppings. Muffins are typically flavored and sweetened, often with fruit or chocolate chips. In addition, popovers use fewer ingredients, which makes them simpler to prepare. Think of popovers as muffins’ elegant, less complicated cousins!
What is a popover made of?
Popovers are made from a simple mix of eggs, milk, flour, and a pinch of salt. That’s it! First, you whisk everything together to create a smooth batter. Next, you pour the batter into a preheated pan with hot butter. Then, you bake them at a high temperature. The heat creates steam, which makes them puff up beautifully. There are no fancy ingredients, which makes popovers easy and affordable to make. Plus, you can customize them by adding cheese, herbs, or even a sprinkle of sugar for sweetness. Popovers are proof that simple ingredients can make something amazing!
Is a popover the same as a cream puff?
While popovers and cream puffs are both light and airy, they’re not the same. Popovers are made with a simple batter of eggs, milk, flour, and salt. Cream puffs, however, are made from a dough called pâte à choux, which includes butter. Popovers are hollow due to steam, but cream puffs are hollowed out to hold delicious fillings. Also, cream puffs are typically sweet, filled with whipped cream or custard, while popovers can be sweet or savory. In addition, popovers don’t require as much effort as cream puffs. They’re easier to make and equally impressive!
How do you make waffle cones not soggy?
Keeping waffle cones crisp is easier than you think! First, make sure your cones cool completely before storing them. Next, store them in an airtight container to keep moisture out. If they lose their crunch, pop them in a 300°F oven for a few minutes. This helps restore their crispiness. Also, avoid adding ice cream to warm cones – the heat can make them soggy. In addition, a thin layer of melted chocolate inside the cone can act as a barrier. This trick keeps the cone crisp longer while adding a tasty bonus. Enjoy crunchier cones every time!
Celebrate the Difference Between Mini and Regular Popovers

Mini popovers bring all the charm of traditional popovers, but in a fun, bite-sized package. They’re light, airy, and so versatile! Whether you’re hosting a party or craving a quick snack, they fit the bill. First, they cook faster than regular popovers, making them perfect for busy days. Next, their size makes them easy to customize with toppings or flavors. In addition, they’re a fantastic way to enjoy the timeless joy of popovers with a modern twist. Regular popovers are great too, especially for hearty meals. But mini popovers steal the show with their shareable appeal. Now that you know what is a mini popover, why not give them a try? Experiment with recipes, play with flavors, and enjoy the delightful difference they offer. You’re going to love how easy and fun they are to make – and even more to eat!
Recap Table of Mini Popovers Recipe
| Category | Details |
|---|---|
| Ingredients | 2 eggs, 1 cup milk, 1 cup flour, pinch of salt, 1 tbsp butter |
| Nutritional Values | ~120 calories per serving, 5g protein, 10g carbs, 6g fat |
| Summary Instructions | Whisk ingredients. Preheat pan with butter. Pour batter. Bake at 425°F for 20 minutes. |
| Preparation Time | 10 minutes |
| Cooking Time | 20 minutes |
| Number of Servings | 6 servings |
Mini popovers are a quick, simple, and versatile treat, perfect for breakfast or any time of day. First, gather your ingredients. Next, mix and bake. Then, enjoy these warm, airy bites with your favorite morning toppings like jam, butter, or honey!
